The following is a list of photos that should fully
document all of the important features of a Masi*. If
you want to display your bike on a web page or would
like to have a tasty selection of pics to include in an
eBay sale (it is hard to underestimate the importance of
good photos when selling a vintage bike), this is a good
place to start. Note that this is just a list of
photos, not a photography lesson, so I'm assuming you
are familiar with terms like 'three quarter view' and
know how to use proper lighting and the close-focusing
features of your camera.
*Or most other
bikes, for that matter.
Listed in approximate order of importance:
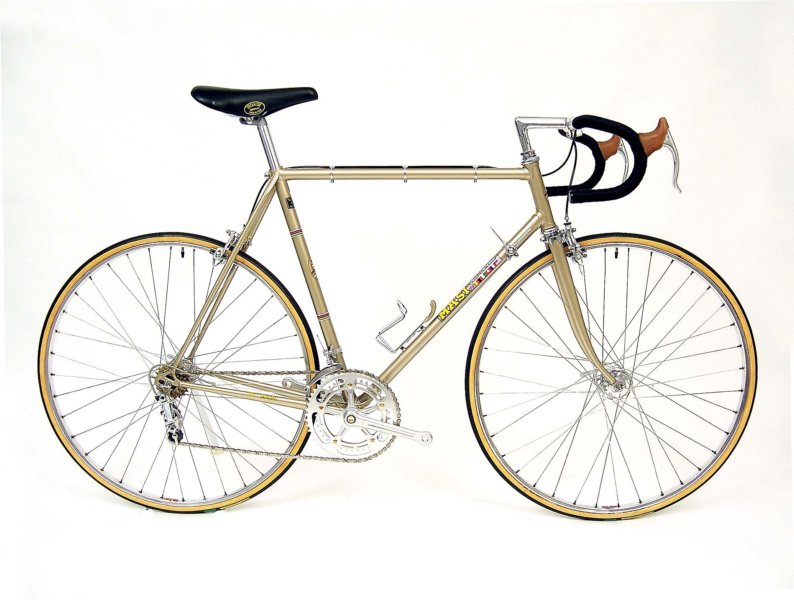
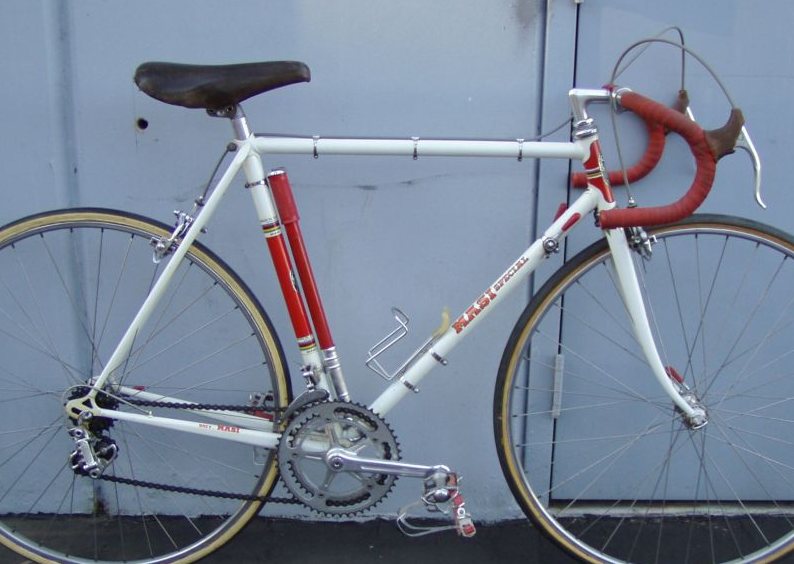
A full side view 'beauty shot:'
It should be taken from
the drive side with the camera level, not pointed down.
A photo of the whole bike looks best but you can also
get in close enough to just show the frame, cropping the
outer portions of the wheels.
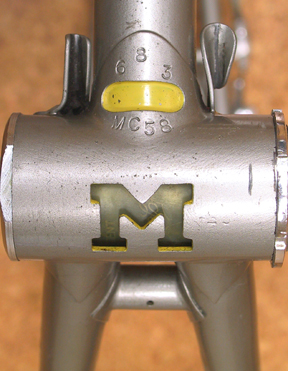
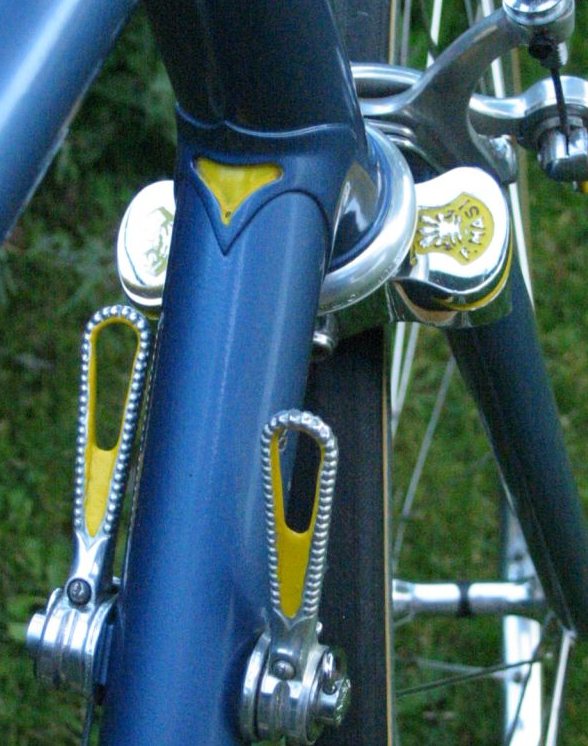
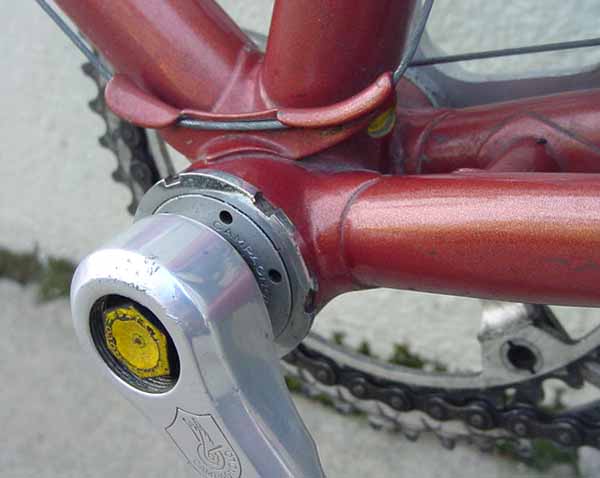
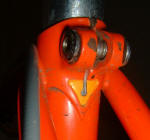
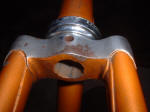
Underside of the bottom bracket:
This one
should be angled from the front, showing both the cutout
(if any), the window in the downtube tang and a CLEAR
view of the frame size stamp, serial number, or any
other stamps. You may have to play with oblique
lighting to get the stamps to show if they are not
filled with contrasting paint (by oblique, I mean
lowering the angle of the light so that it strikes the
surface at a shallow angle. This casts shadows
across the stamps and any other irregularities in the
surface, making them stand out). Be sure to check
the rear of the bottom bracket, occasionally there are
stamps on one of the chainstay sockets. If so,
try to make
sure this stamp shows up, or take an extra shot.
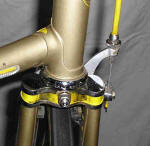
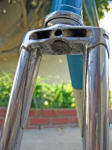
Fork crown:
For an eBay listing where you want to
minimize the number of photos, a shot from three-quarter
rear can show both the crown and the lower head lug.
Two crown photos are ideal... one from three-quarter
front showing the crown and perhaps the head badge on a
smaller frame, another from three
quarter rear. You might want to vary the two by
shooting one at a slightly upward angle and the other
slightly downward. You also remove the front wheel for
at least one of the photos, to show the
fork blade stiffener. If the crown has a crest on
the flats, be sure that one photo shows it clearly.
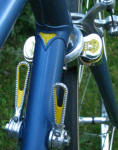
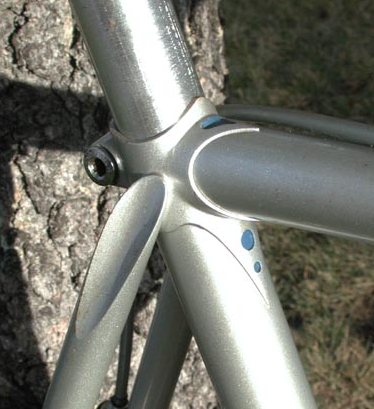
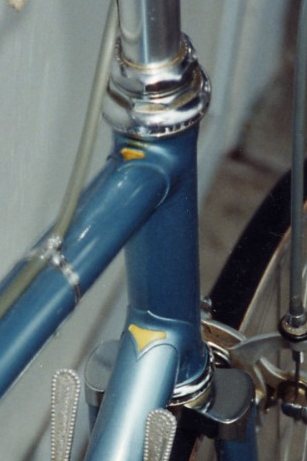
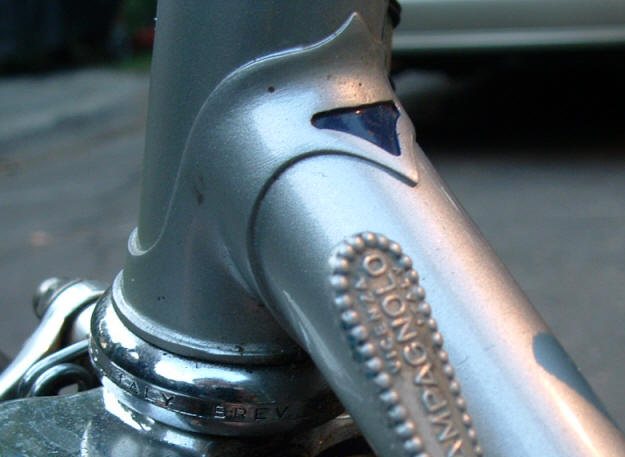
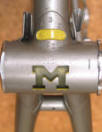
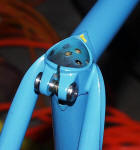
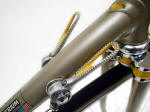
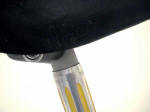
Seat cluster:
Three quarter front, slight downward
angle. This one's tricky... if you get the angle
right, one shot should give you a good view of the upper seat lug cutout, the seat stay caps and the seat lug tang that extends down the front
of the seat tube. Then get a second shot from behind
showing the binder bolt ears and expansion slot.

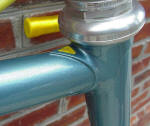
Head lugs:
Individual shots of the head tube lugs
from three-quarter rear, downward angle (showing the
cutouts). This can be a single medium-distance shot
or separate closeups of each lug.

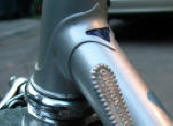
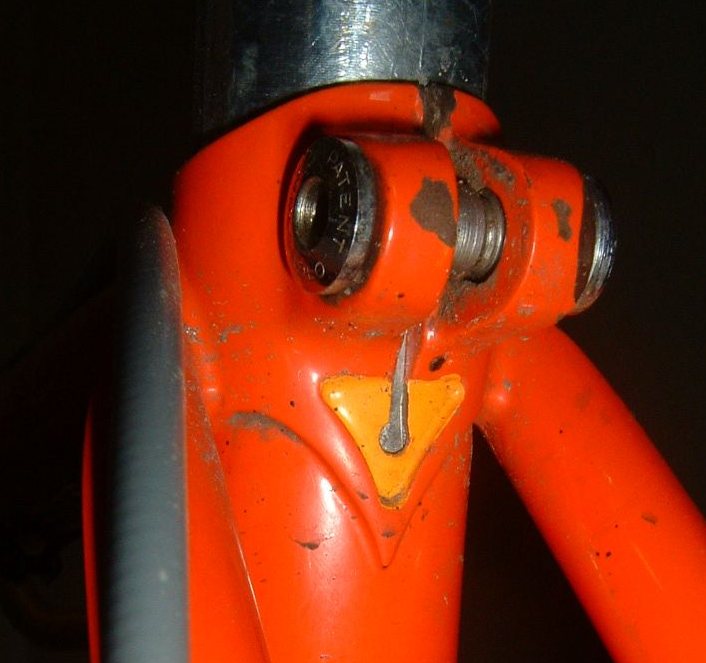
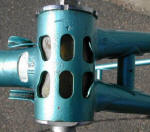
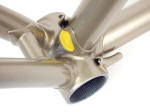
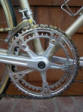
Second bottom bracket shot:
Three quarter rear, from
the left side (unless the crank has been removed), slight downward angle. This shot will
show the upper side of the bottom bracket, the rear seat
tube cutout and the chainstay bridge.
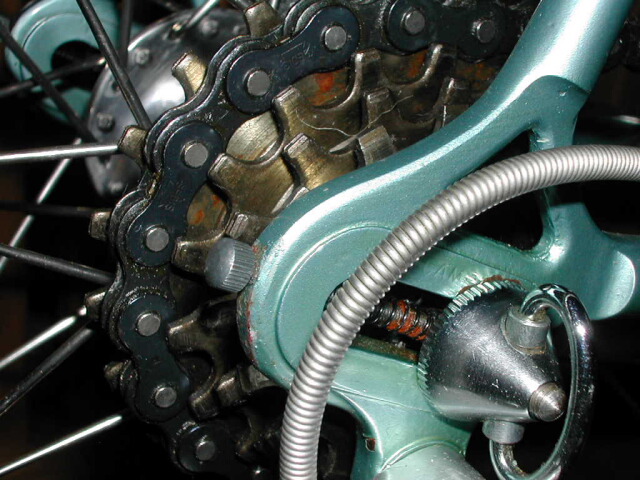
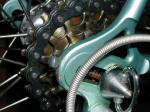
Rear dropout:
Either side, slight rear angle is usually
better than a straight side view, so that you can see the
squaring of the dropout contours as well as the filing
of the stay ends. If your bike has milled
dropouts, it might be best to remove the wheel and shoot
from the left side so that the cable is not in the way.
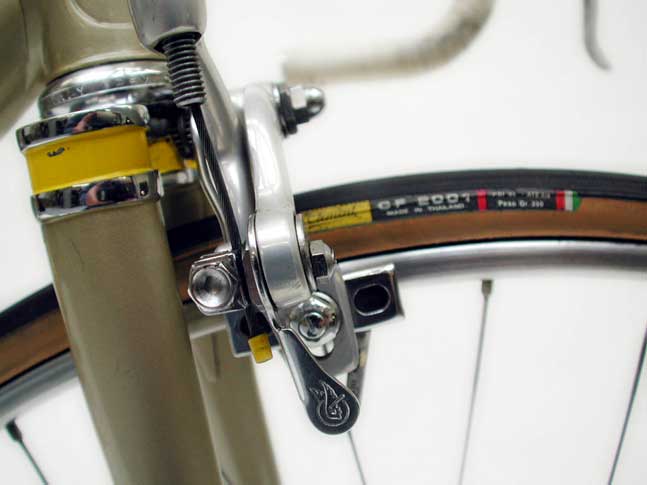
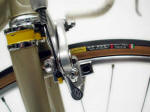
Brake bridge:
Three quarter front, slight downward angle.
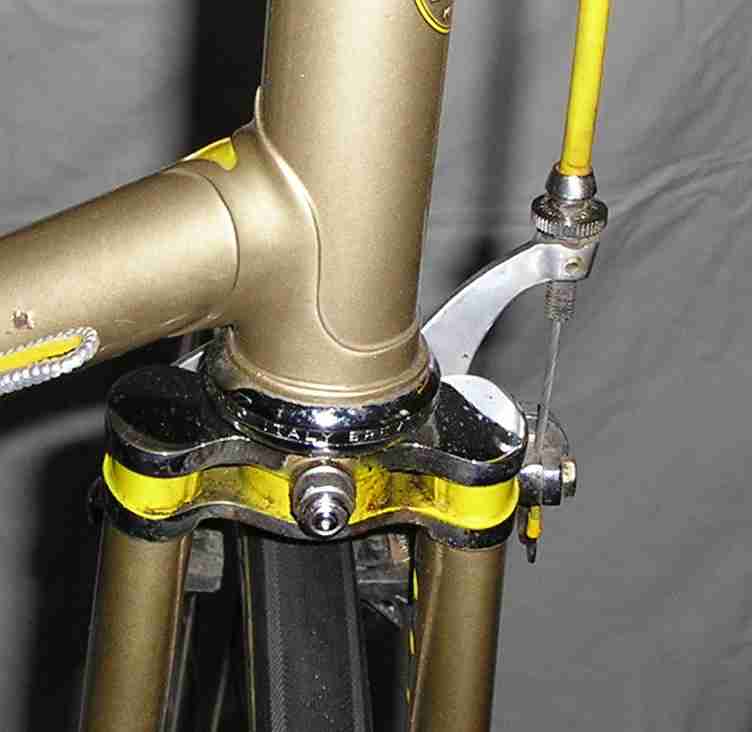
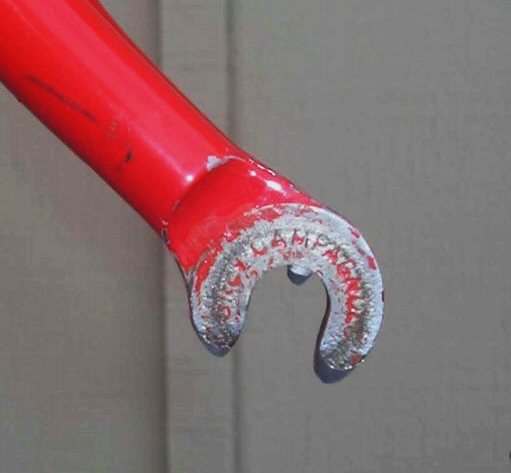
Front dropout:
With wheel removed... in addition to the
fork blade filing, you'll want to see the points Masi
filed on the dropout tips.
The above group of about twelve photos should capture
nearly all of the fabrication details of a frame. Three other
photos might prove valuable, but two of them are going
to take a bit more effort:
Underside fork crown:
This
detail can show some fork crown refinement (for example,
tire relief on a Pista or a rifled steering tube).
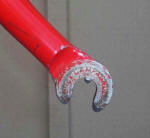
Inside the seat tube:
The drilling of the top tube vent
can be important in some cases. Most Masis have a
single hole, but Mario Confente sometimes drilled four
holes in a diamond pattern.
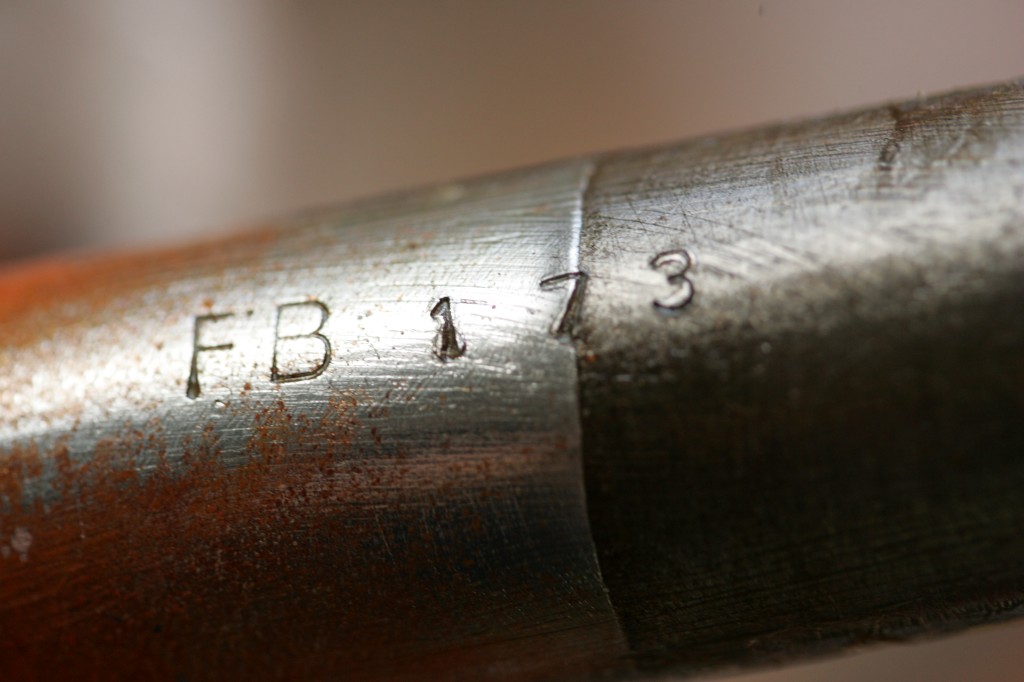
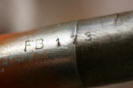
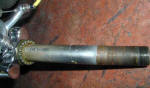
Steering tube:
This shot requires the most work but can
be very important on Italian Masis (mostly from 1969 to
1975). There were often stamps on the steering tube,
sometimes just a frame size (matching the BB stamp) but
you may also find a date or a brake reach code. Note
that this shot, unlike those listed above, is NOT listed
in order of importance... if your bike has a steering
tube stamp that is anything other than the frame size,
I'd rate this close to the top of the list.
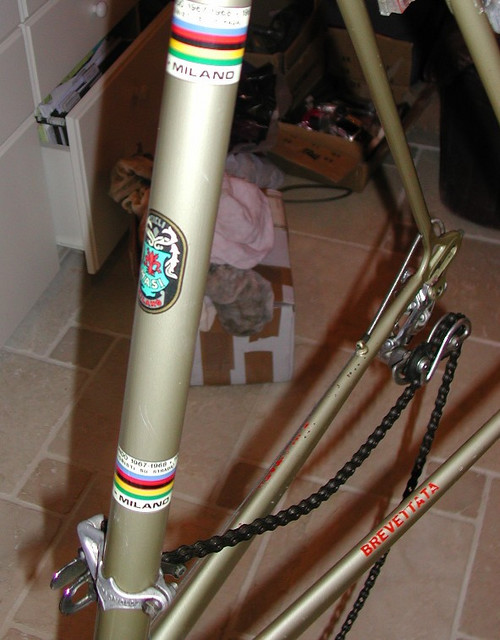
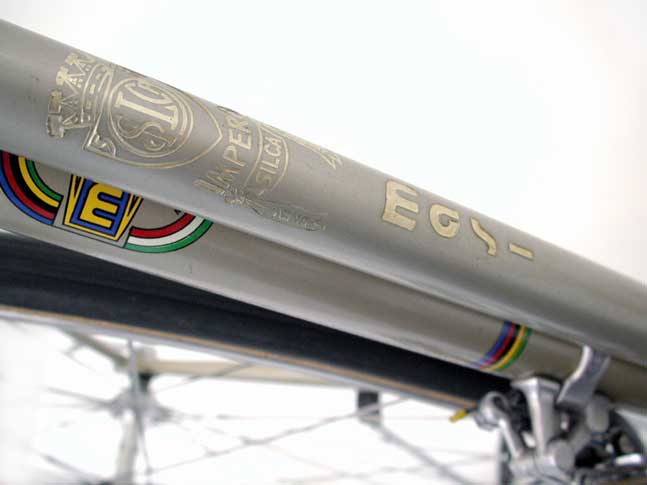
OK, that's it for the frame fabrication details. Now to
the graphics. Decals will vary from frame to frame so
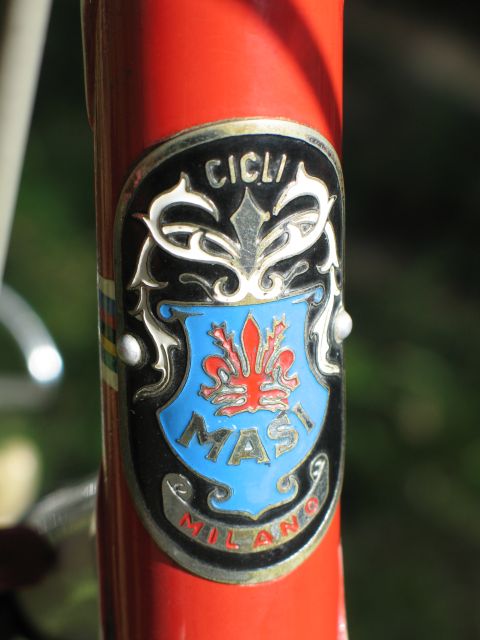
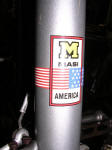
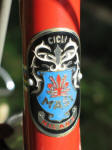
it is best to use one's own judgement. Head tube
decal/badge and upper and lower seat tube bands might
show up in the previous crown, seat cluster and upper BB
photos respectively (depending on how close you get and
the size of your frame). If not, go ahead and shoot them,
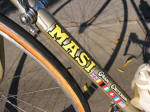
as well as the down tube decal, seat tube crest, and if
present, the chainstay decal and top tube signature
decal. Reynolds or Columbus decals on the upper seat
tube are rare on Masis but if present, try to include
them.

Not all the above fabrication or graphic photos are necessary of course. Many
features remained consistent on Masis for quite a few
years so if you know the marque well you'll probably
know what can be eliminated. Usually about six to eight
carefully selected photos will show the bike's most
important qualities in an eBay sale, but if you are
displaying your bike on a web page for posterity you
might want to go for the whole package.
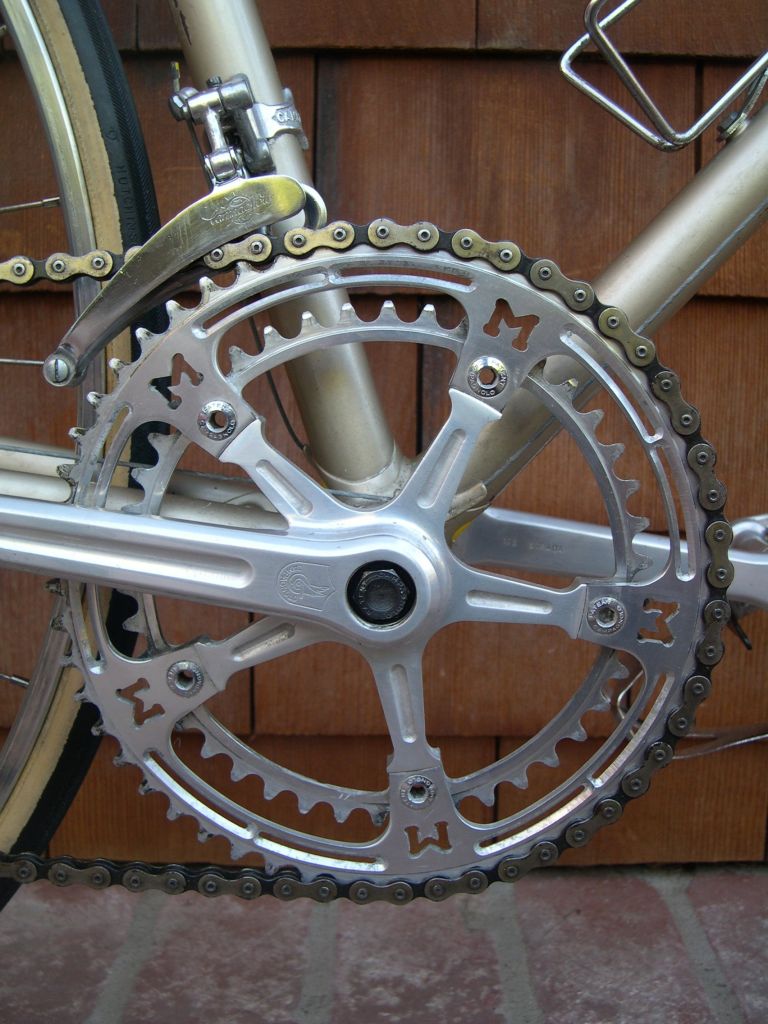
Finally, there are the bike's components. While you might
want to include a few photos of components in an eBay
sale, for most collectors photos of the Campy
components on a bike fall into the 'If you've seen
one..." category. Campy components with dates (crank
arms, rear derailleur, hub locknuts) can be noted in the
accompanying text and unusual components like no-name
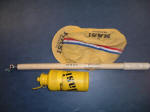
brakes can be photographed. The brand of stem, saddle,
rims and tires changed over the years and if one
suspects these items are original, they should be
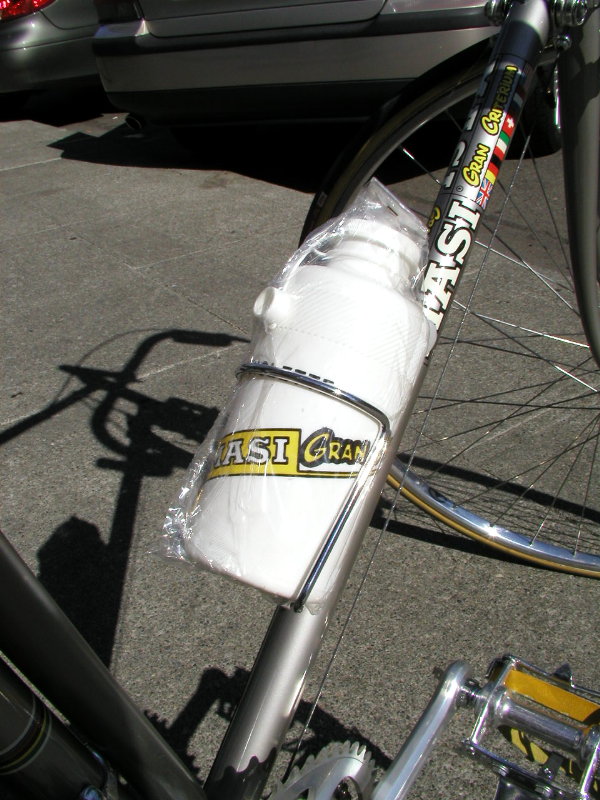
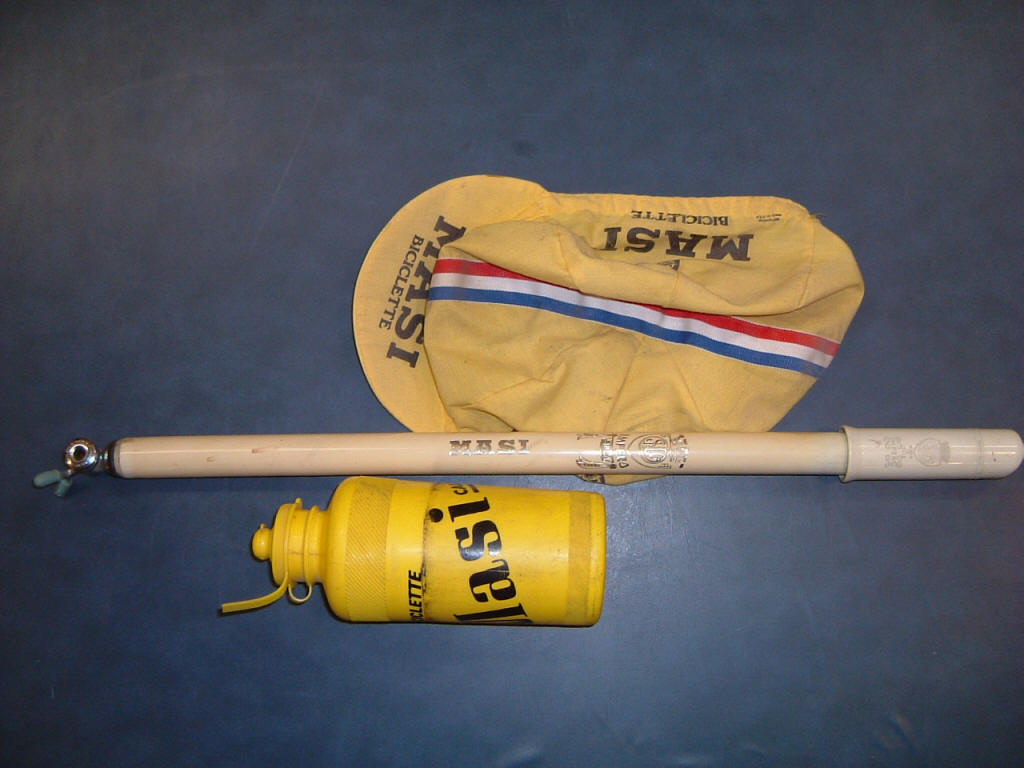
photographed or noted in the text. Any milled, drilled,
or pantographed components (usually from 1972 on, but
occasionally earlier) should be photographed, as well as
custom Masi-badged items like handlebars, saddles,
seat posts, shift levers, pumps, saddles, rims or water bottles.
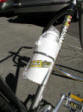
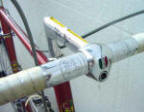

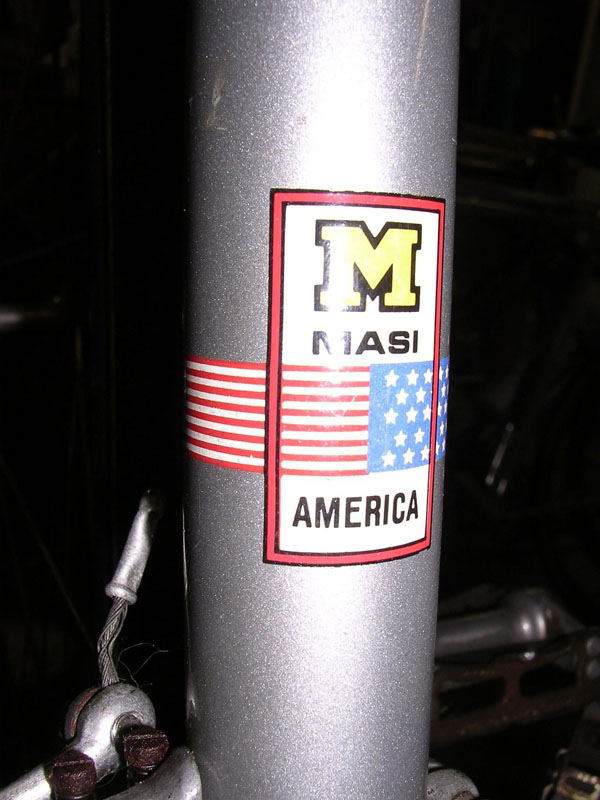
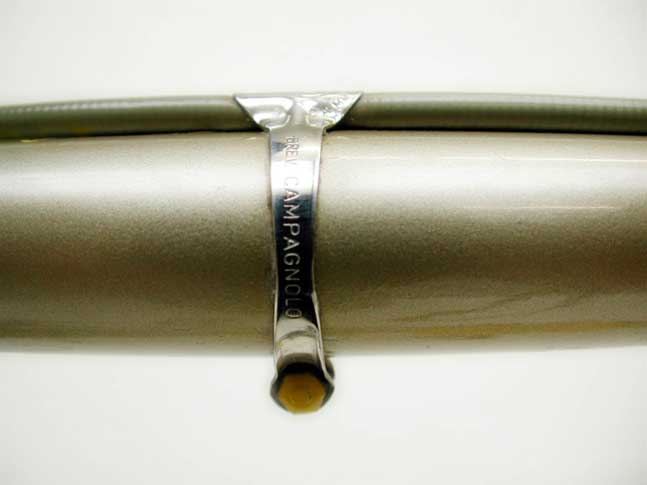
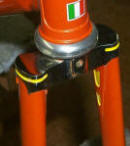
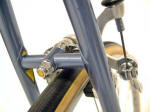
You should also photograph or
note any Masi-specific build details. It was common in
the early 70's for Masi to trim the ends of top tube
clamp bolts and brake pivot bolts then paint the ends
yellow. Cable ends often had tiny bits of aluminum
tubing crimped over them that were also painted yellow.
Occasionally, crank bolt caps were discarded and the
crank bolt ends were painted yellow.


Whew. Long list, I know. But these are the tiny
details that bike collectors drool over, so why not
document them so that folks who are not fortunate enough
to own a rare old beauty like yours can enjoy it as
well?
Since the photos from most modern
digital cameras are quite large, you will probably want
to process your photos to send via email or to post on a
web page. There are two adjustments you will have
to decide on... the final image dimensions and the .jpg
compression rate. Both will affect the file size
as well as the quality and amount of detail in the
finished image.
The goal is
to keep the images large enough to preserve detail but
not so large that the person viewing them has to scroll
around a lot, so it is usually advisable to reduce
images to 800 to 2000 pixels across the longest side.
The compression rate should be low enough to avoid
artifacts that rob detail but high enough to allow
reasonable load times. Finding a good compression
rate is a bit trickier than deciding on image dimensions
since some images (for example those with large expanses
of color) lend themselves more easily to high
compression and smaller file sizes. You may have
to experiment a bit, but for an 800 pixel image, try a compression rate that
yields a finished file size of 80k to 180k (300k to 1mb or more
for a 2000 pixel image). These
might not be the lowest compression rates possible with .jpg, but they definitely should produce a fairly good quality image with
acceptable detail.