ESTWING HAMMER - Leather Handle Replacement
February 2016
BACK
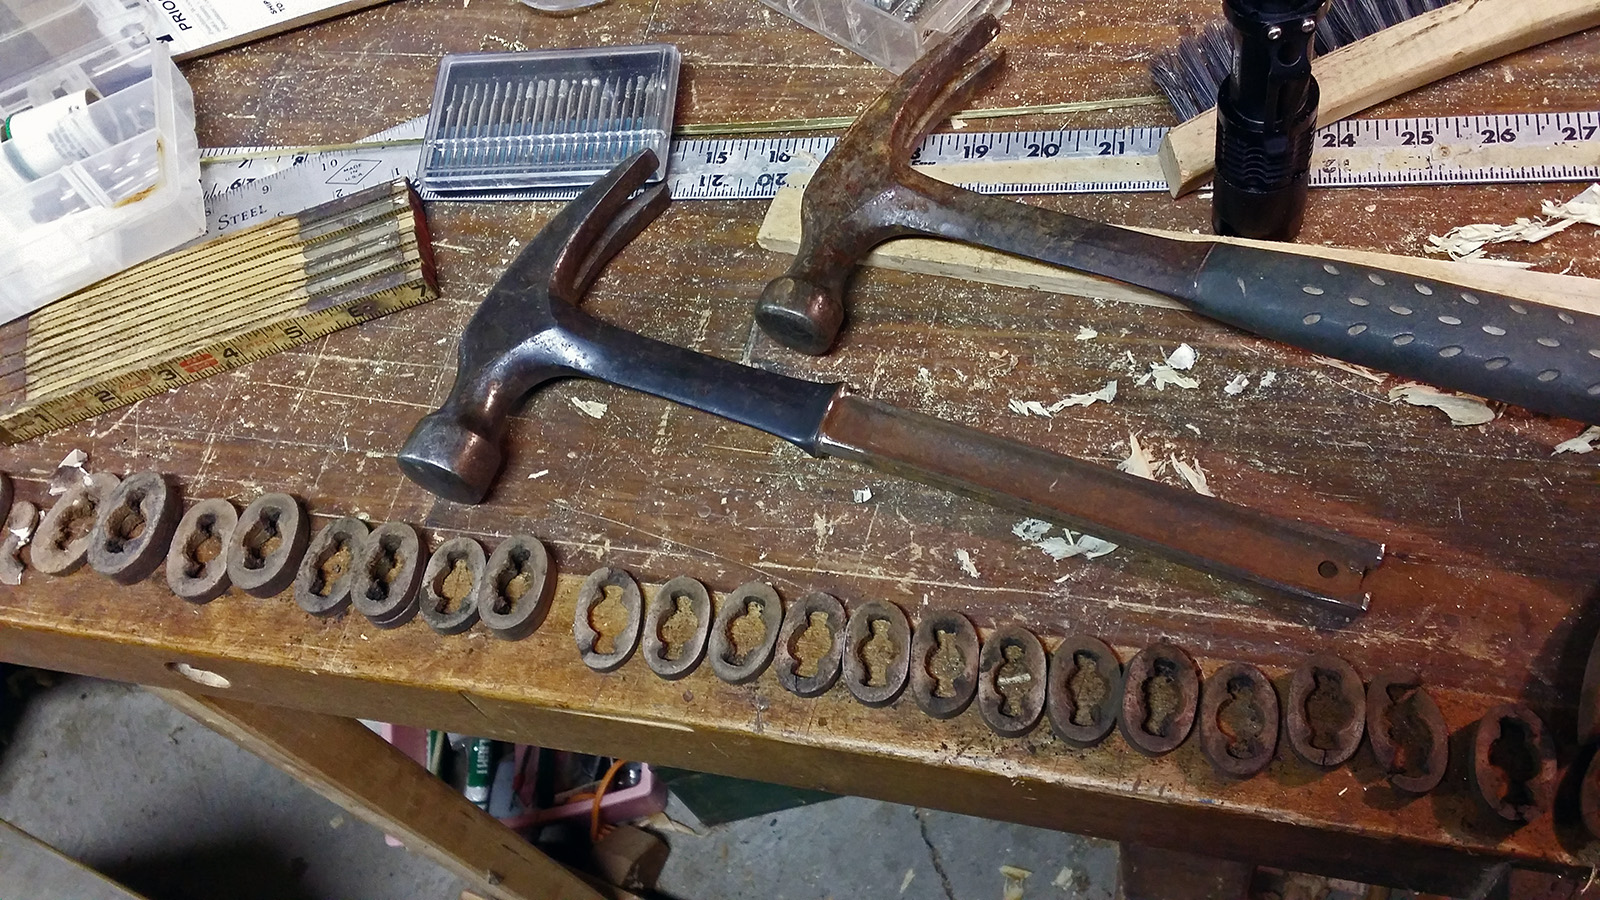
Around 1970, my father gave me an Estwing 20oz leather-handled hammer. It was always my favorite, so after decades of use the leather was shot. I had already tightened it once years ago by hammering the end plate into a cupped shape to compress the leather discs but this time it looked like it would require disassembly. My first thought was to try a simple repair so I removed the end plate with a bit of file work, the idea being to take the whole thing apart and get rid of the badly cracked white plastic decorative spacers at each end, then add a few pieces of leather to make up for their loss as well as the shrinkage of the leather discs. Unfortunately, it soon became apparent that the leather was too far gone for that so I decided to replace the whole handle.
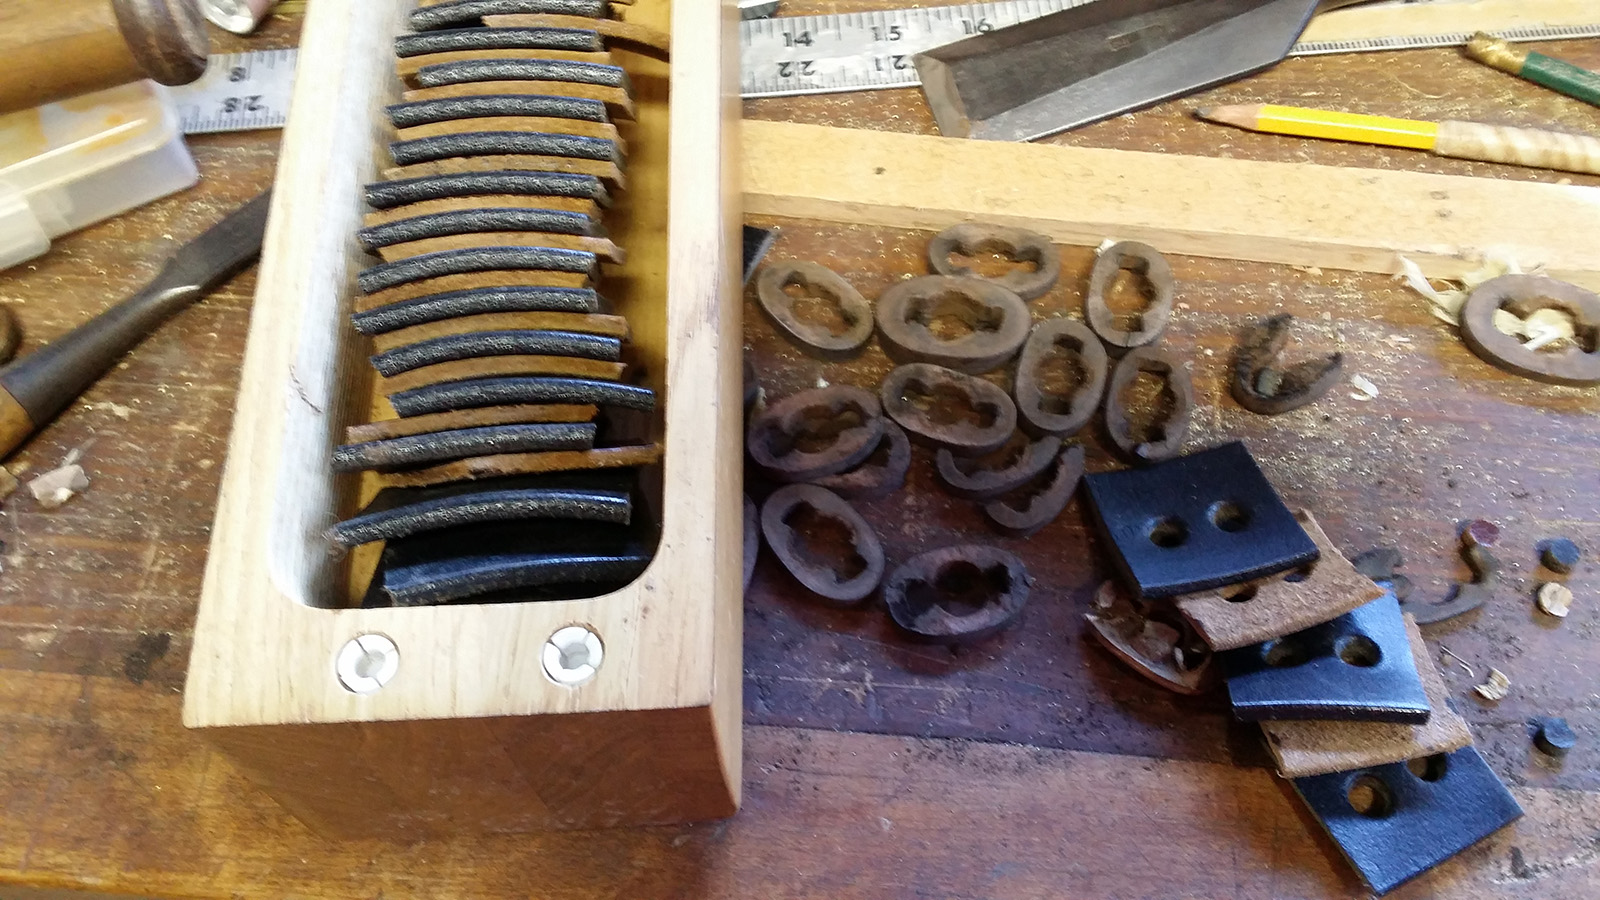
After a quick internet search I found a promising source for rawhide, but being too impatient to wait and unwilling to spend any money I started looking around the house. I found two leather belts a friend had given me about four or five years ago (thanks, Tom!), and figured if I hadn't worn them by now I probably wasn't ever going to... so I cut them into bite-sized pieces and arranged them in a few different patterns, finally settling on a simple alternating pattern of black and brown with the extra black pieces stacked at either end.
There are oval punches available that probably would have shortened this next step, but I happened to have a round one of the correct diameter so that's what I used. It turned out to be the best move anyway because it let me adjust the length of the hole to get a snug fit. This is important, you'll see why later.
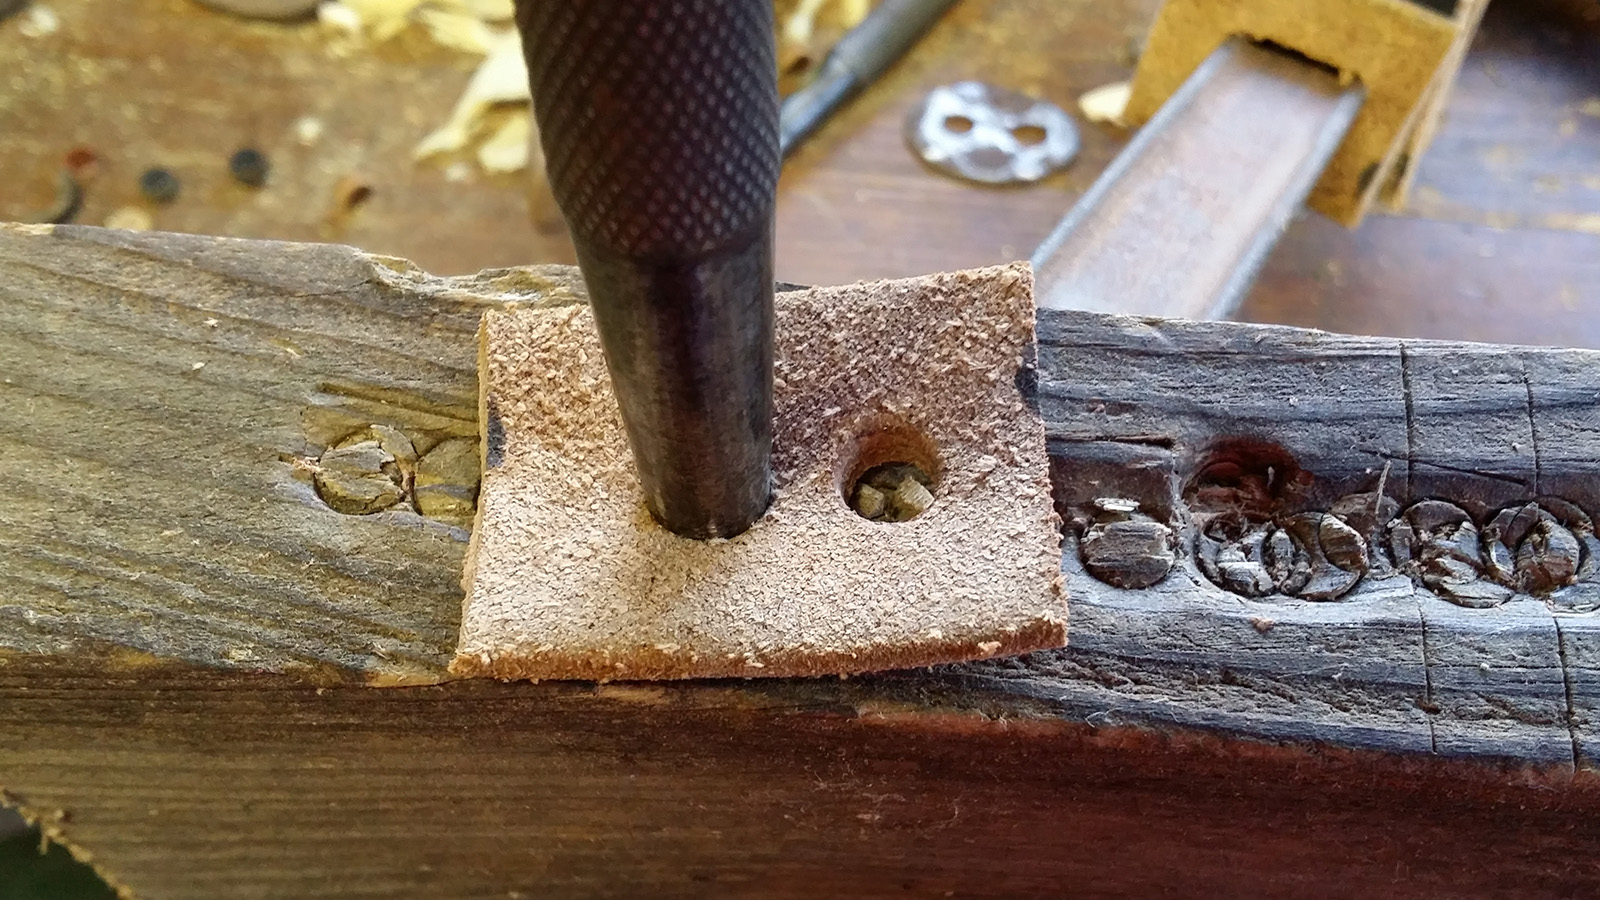
As you can see below, when punching the holes you can either take out the material between the holes with a chisel like I'm doing here, or you can just use the punch a few more times. Oh, by the way, you'll probably need to file away a bit of material in the metal web between the end pins of the handle (red arrow) so that the end plate will go down a little farther, which will let the pins extend a bit more ... you'll need that extra material when you peen the ends.

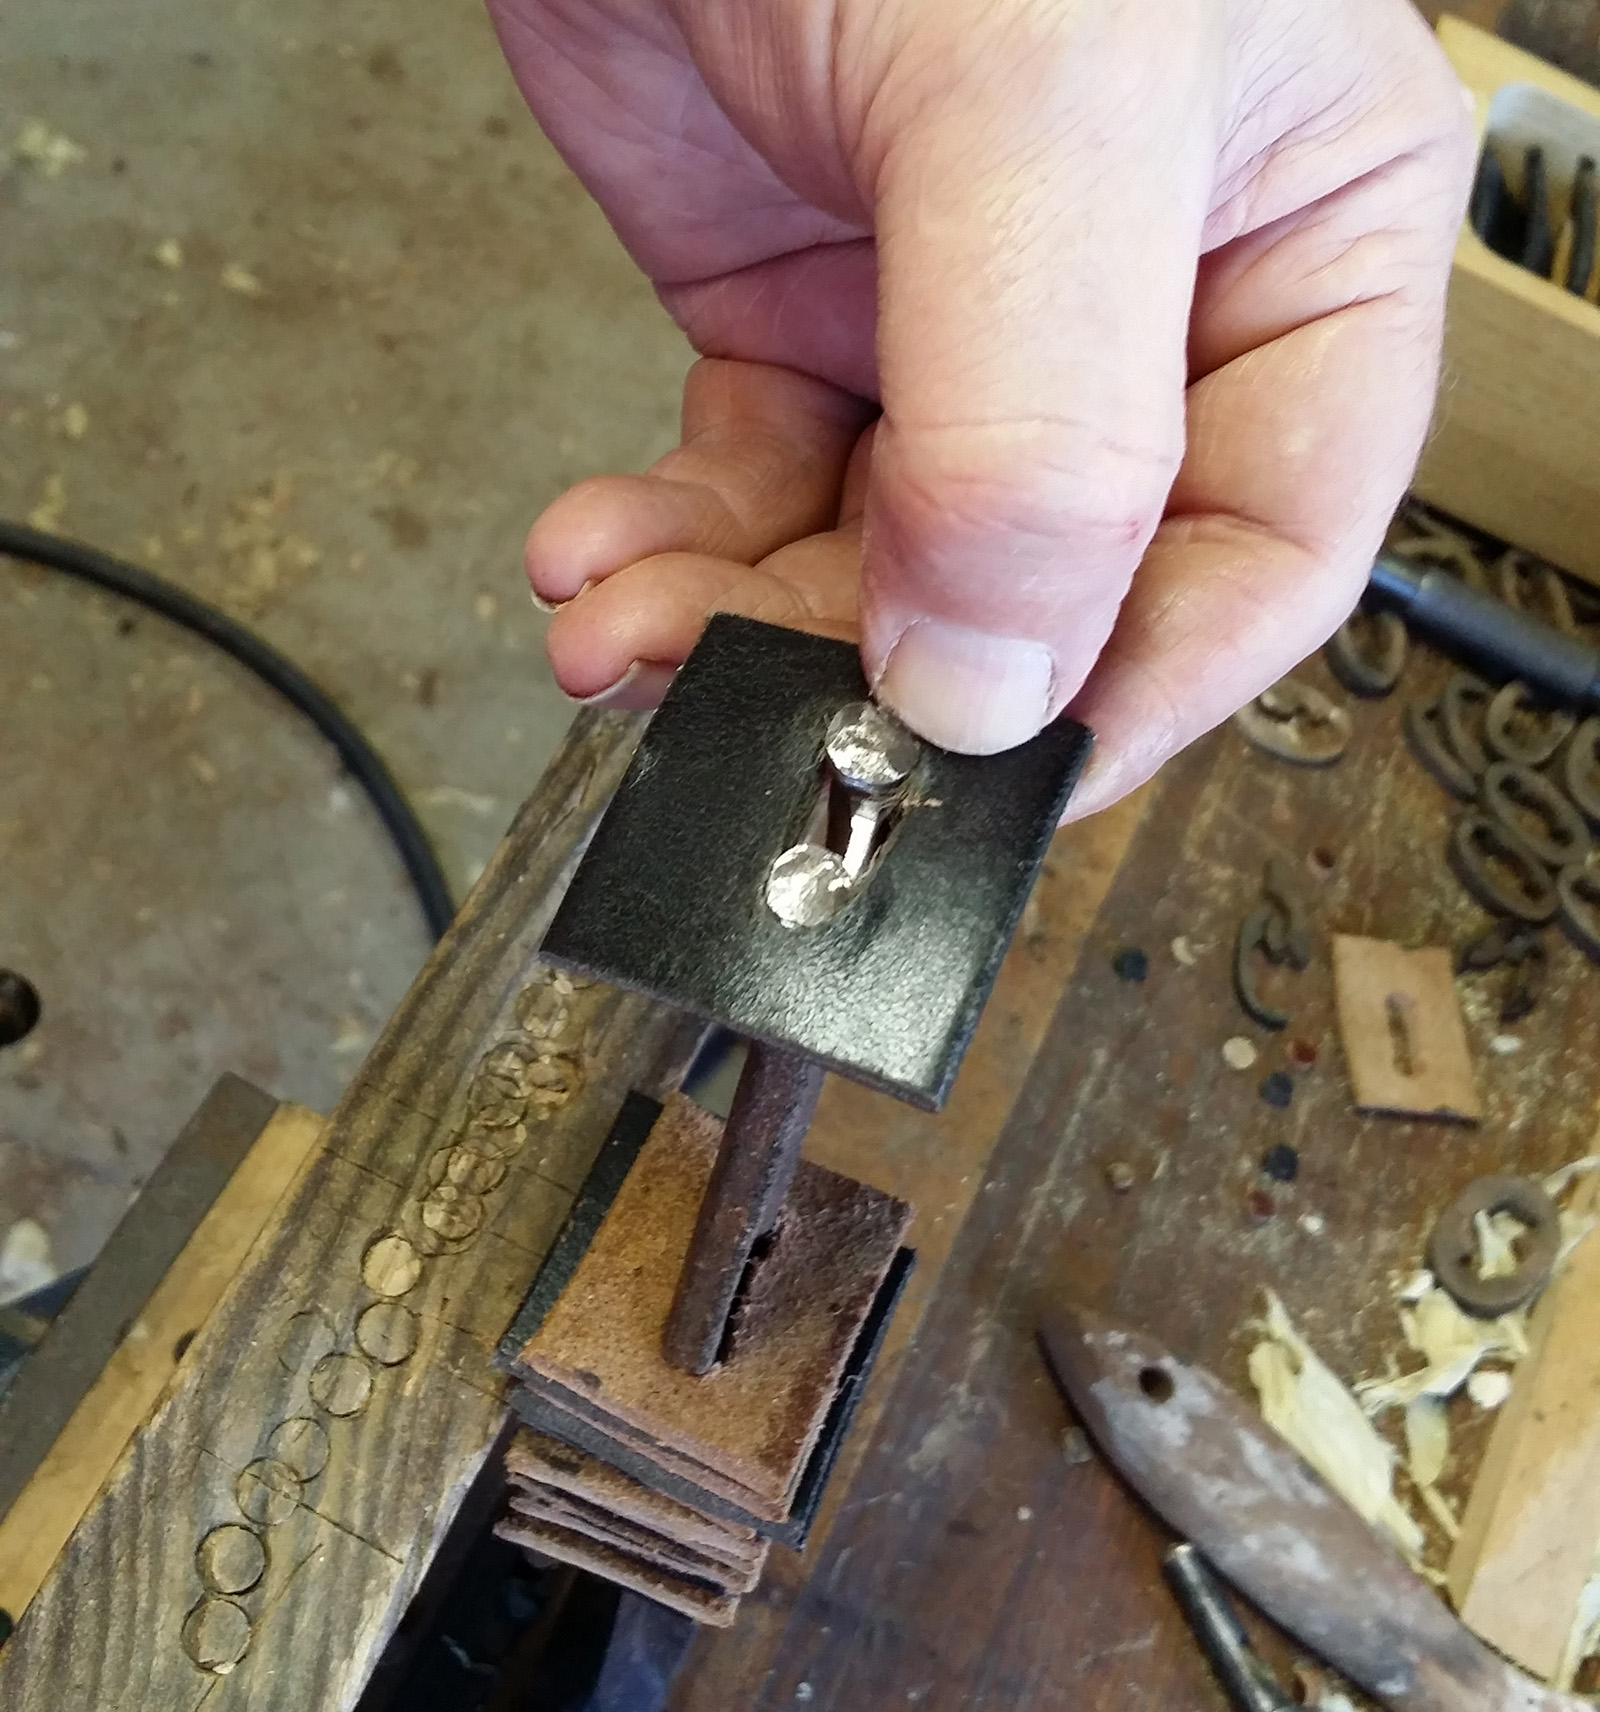
Estwing compresses the leather and peens the end pins in one step using a hydraulic press (check out this video from an episode of "How It's Made"). Not having one of these, I tried to think of some way to clamp the end plate down but still leave enough room to peen the pins. I really couldn't come up with anything that would be stable enough to stay put while pounding on the pins with a heavy hammer. So instead I punched all the holes on the leather pieces a bit closer together than on the original ones... this made them fit the handle very snugly. Some of them were pretty hard to get on, but once in place they gripped the shaft tightly.
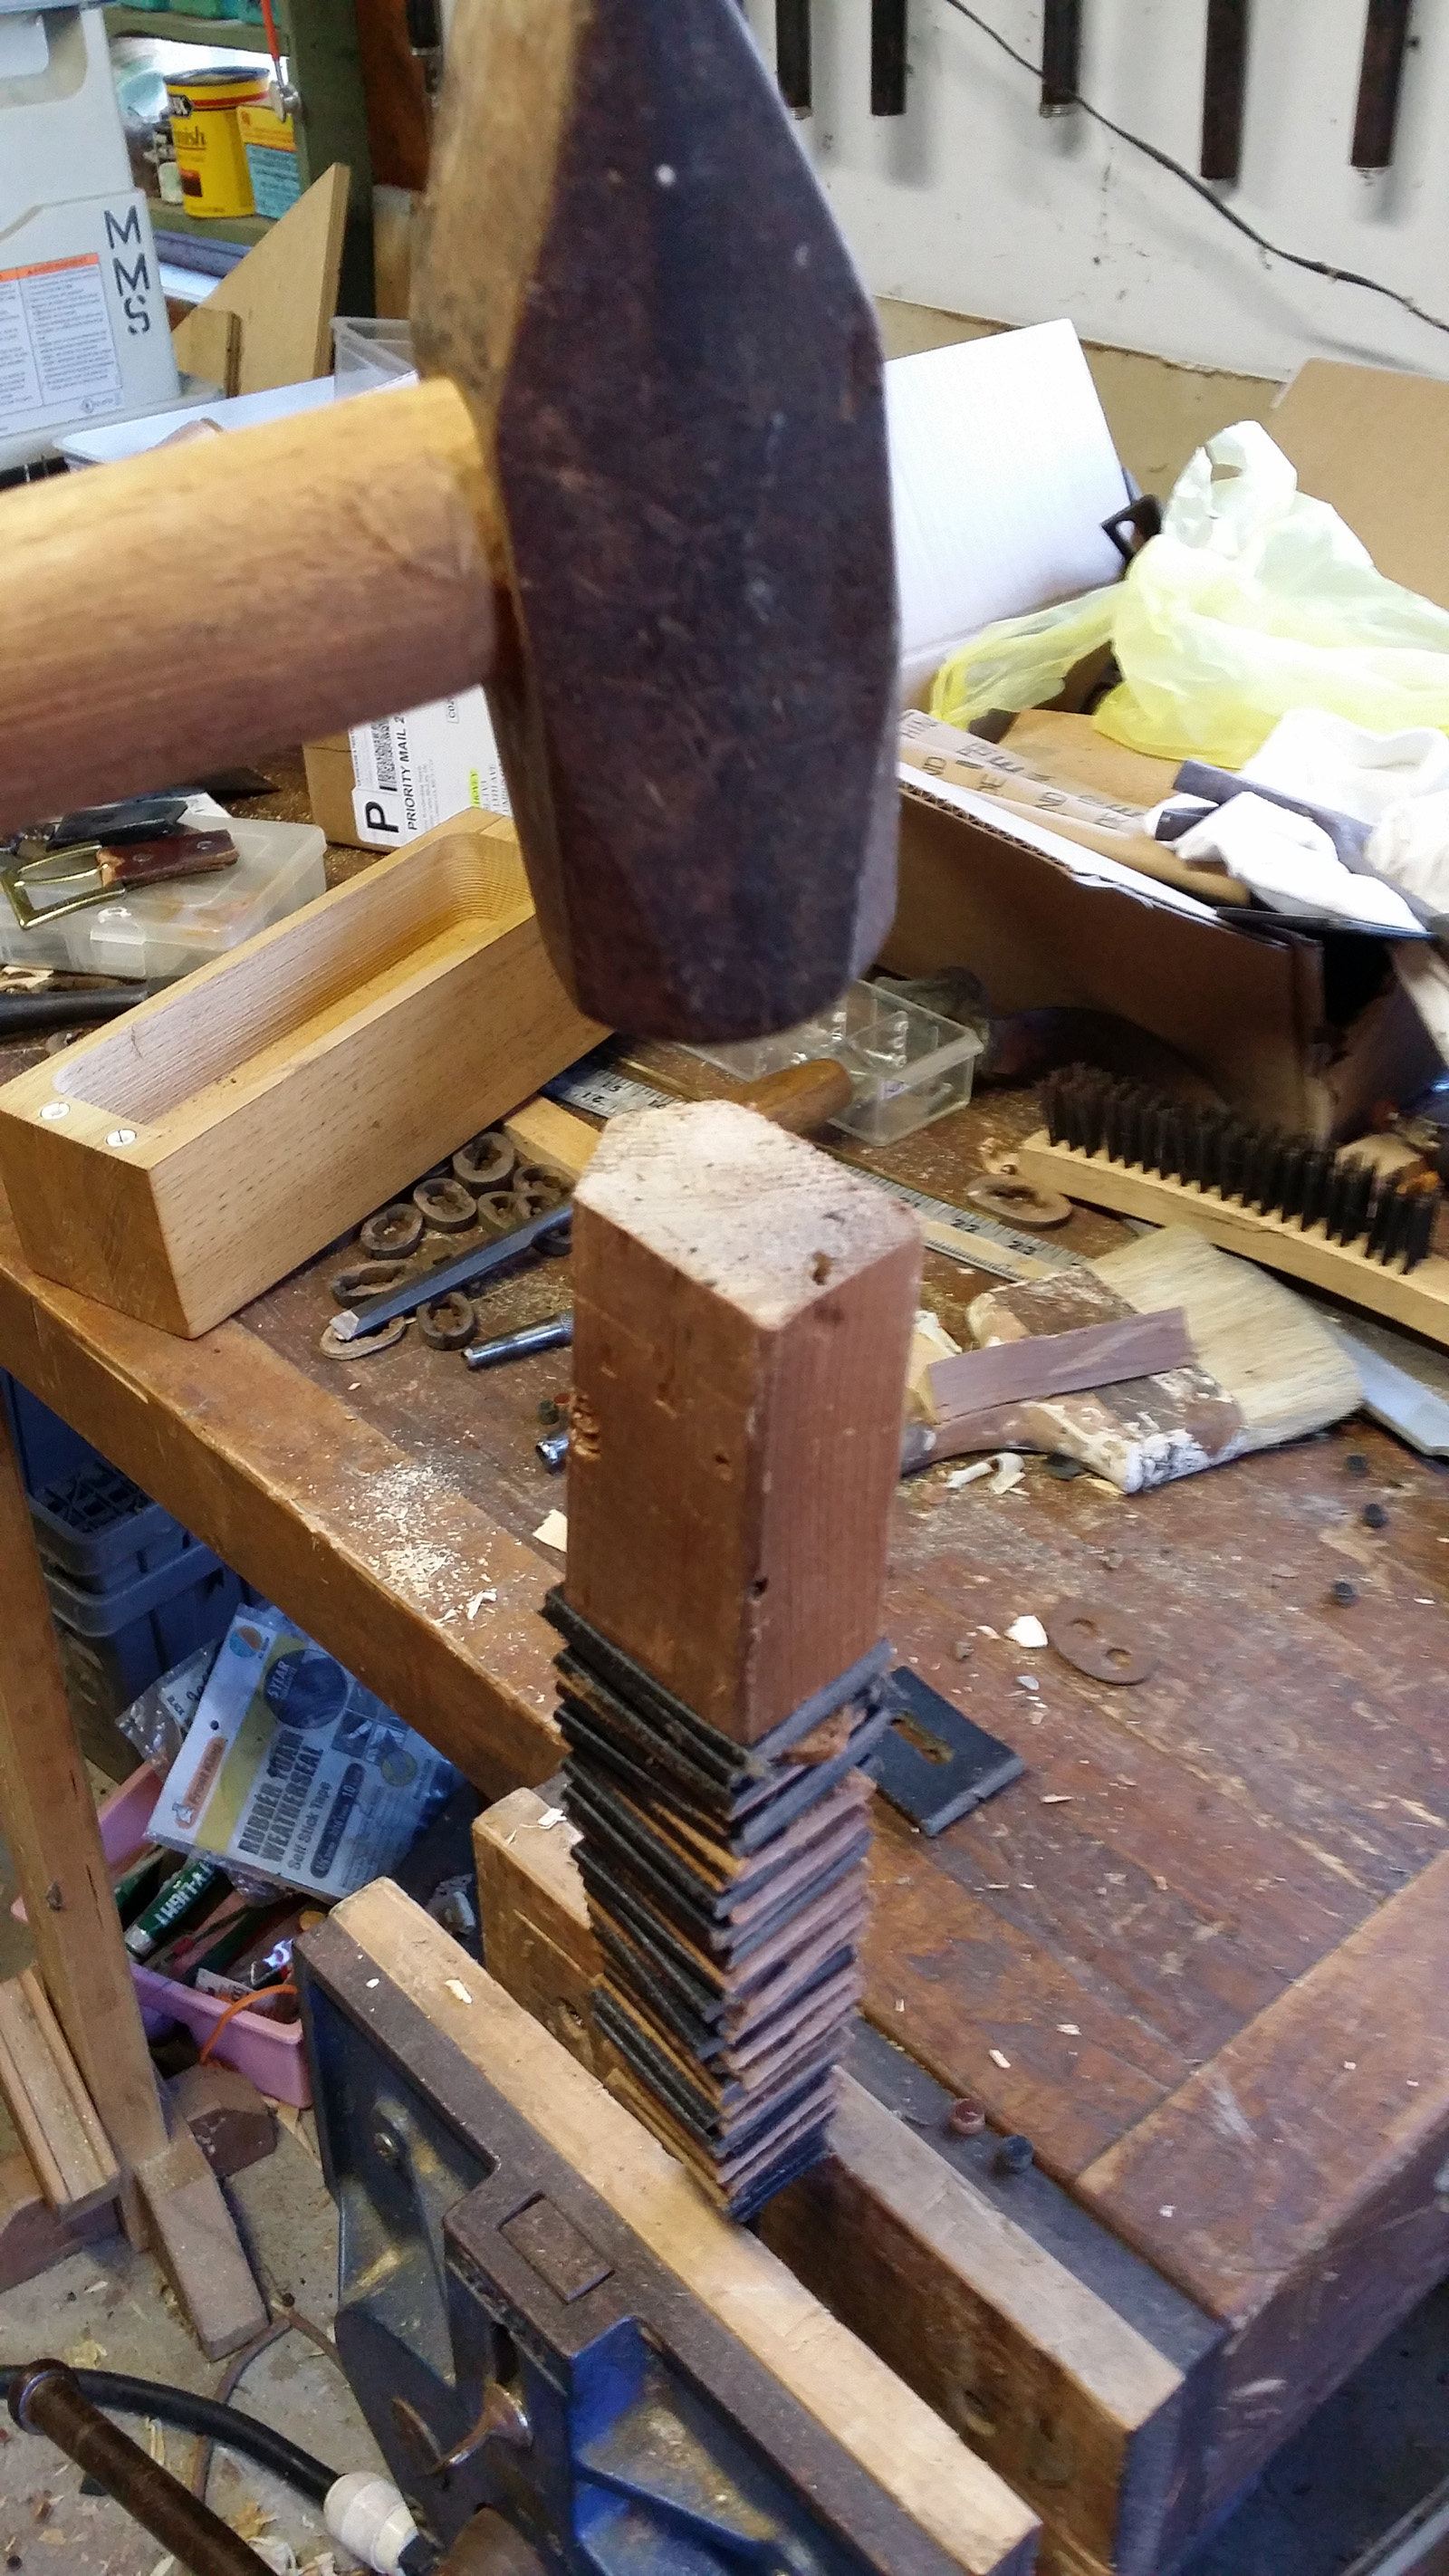
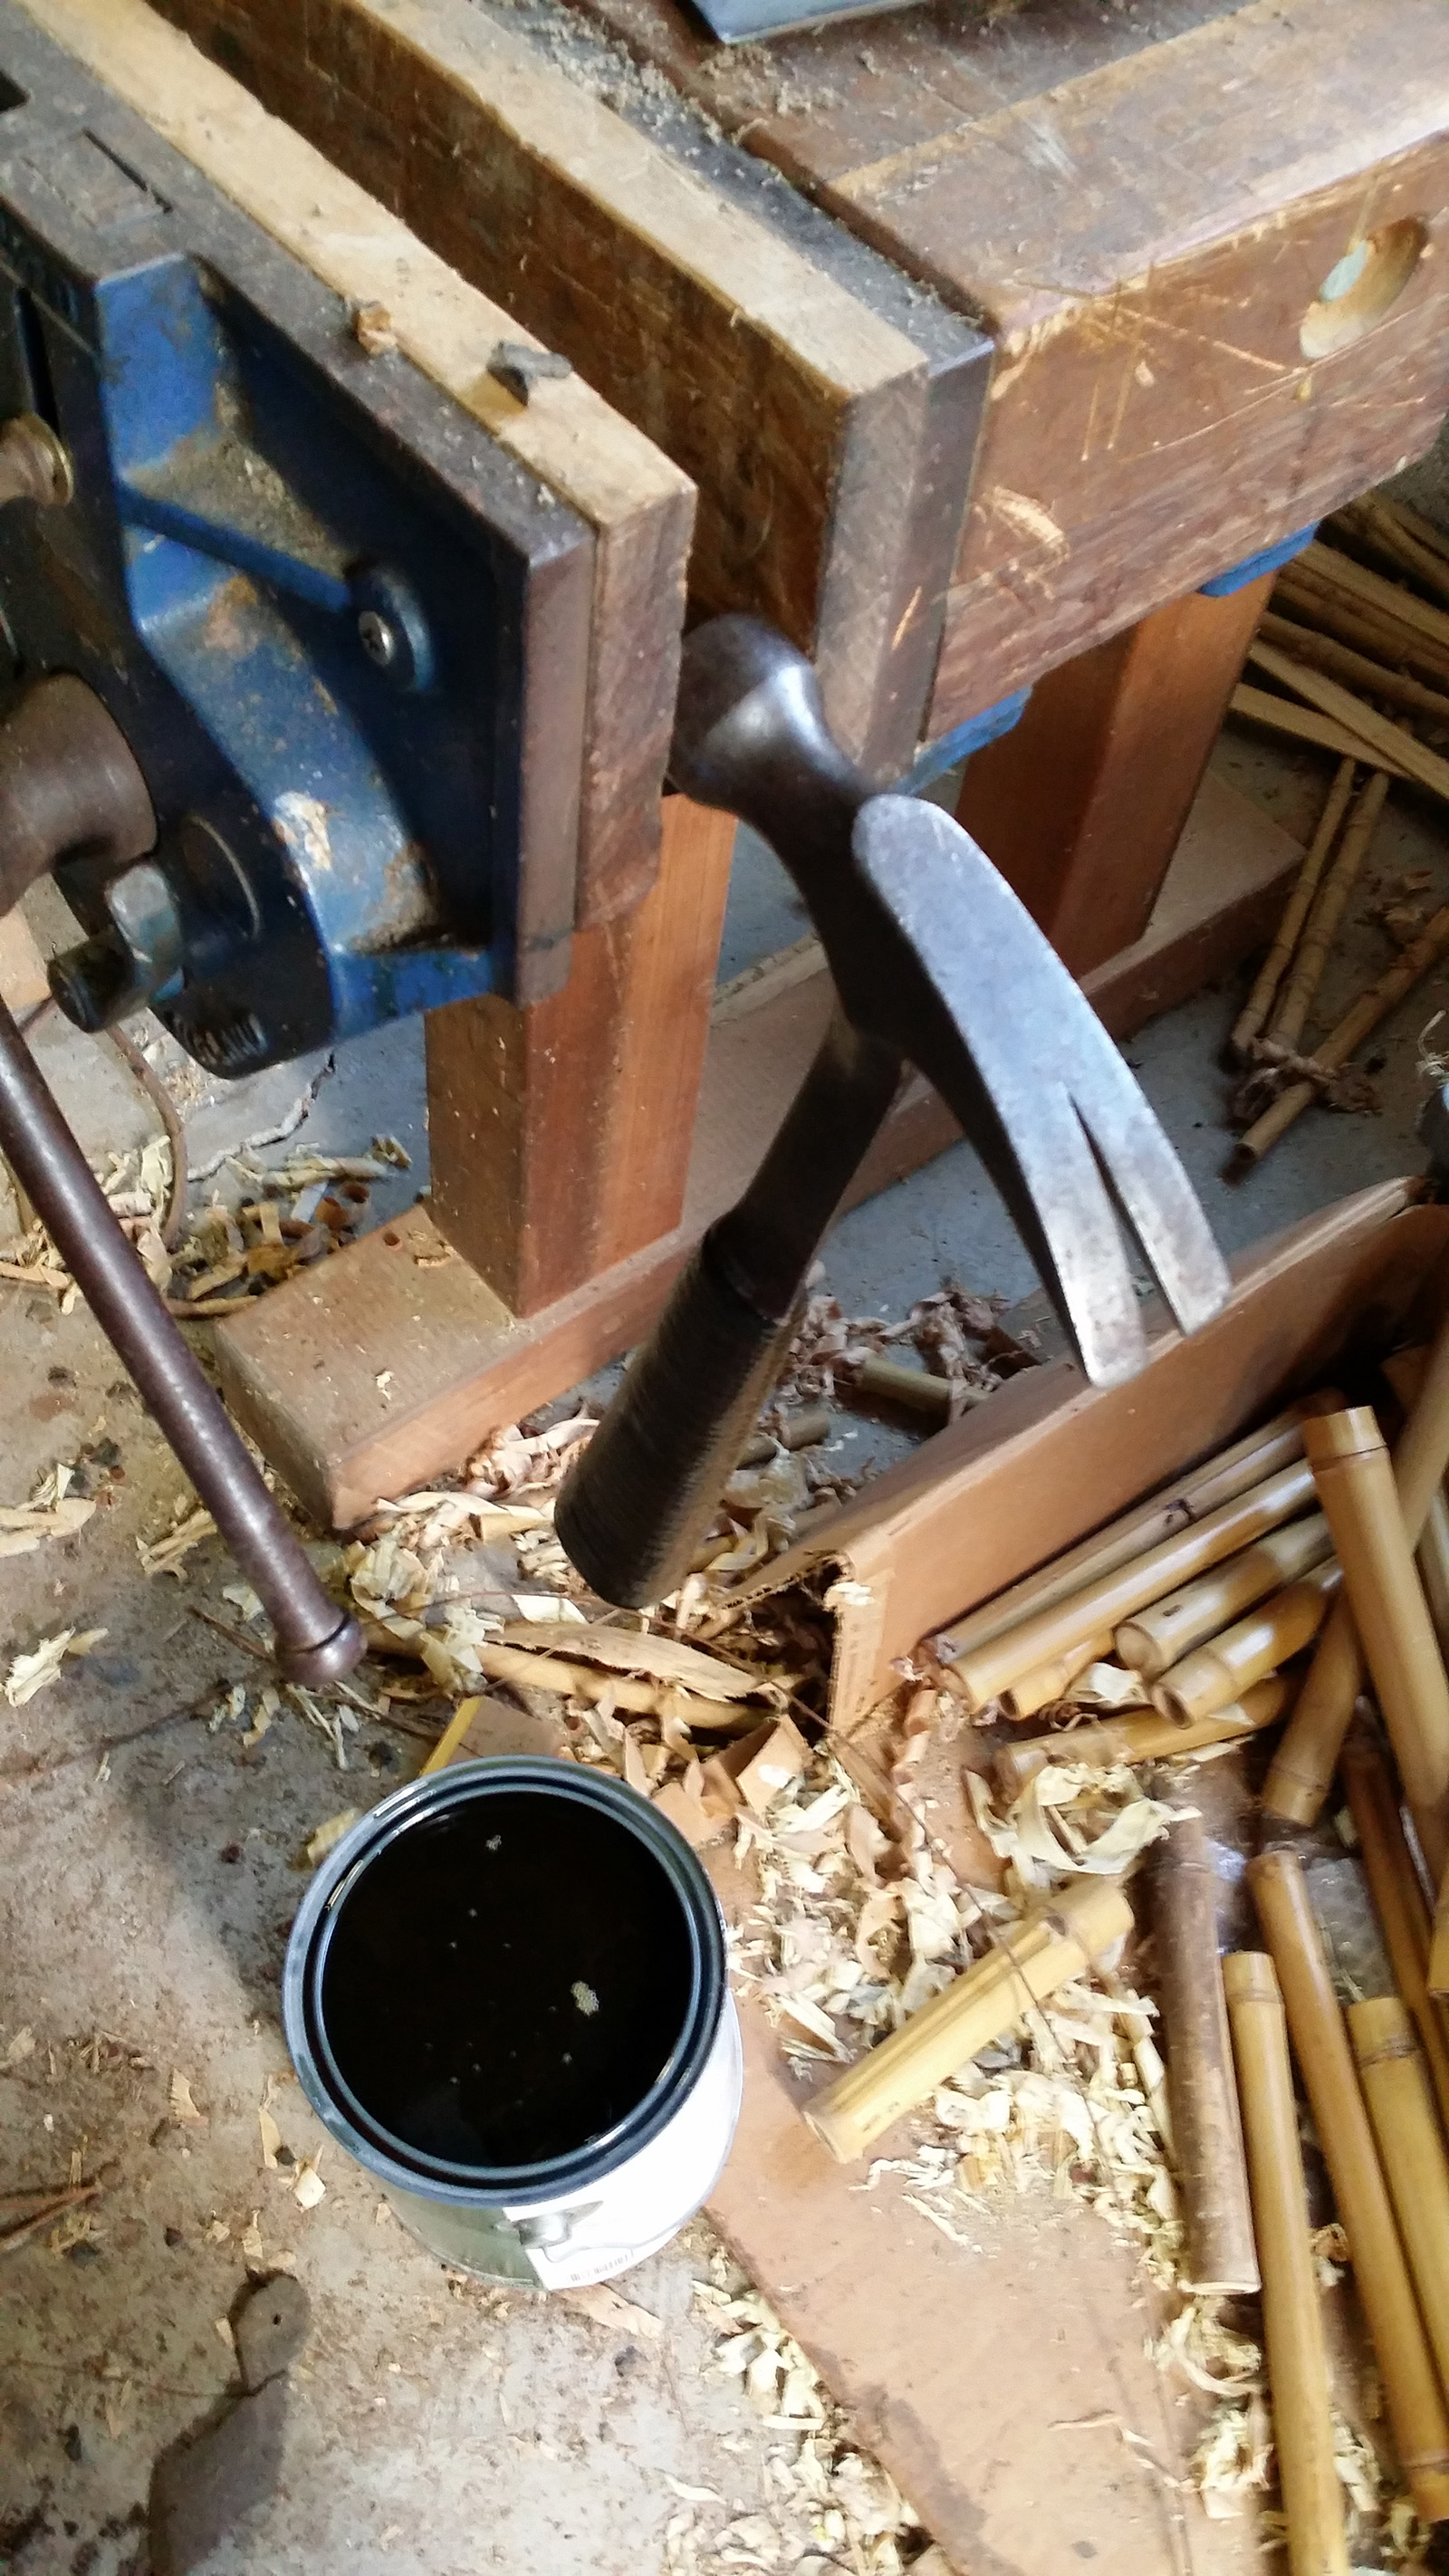
With such a tight fit, once all the leather pieces were in place all I had to do was compress them and they would stay put long enough for me to add the end plate and peen the pins. To compress the leather stack, I got a scrap of wood, drilled a few holes to accomodate the end pins and chiseled out the waste.

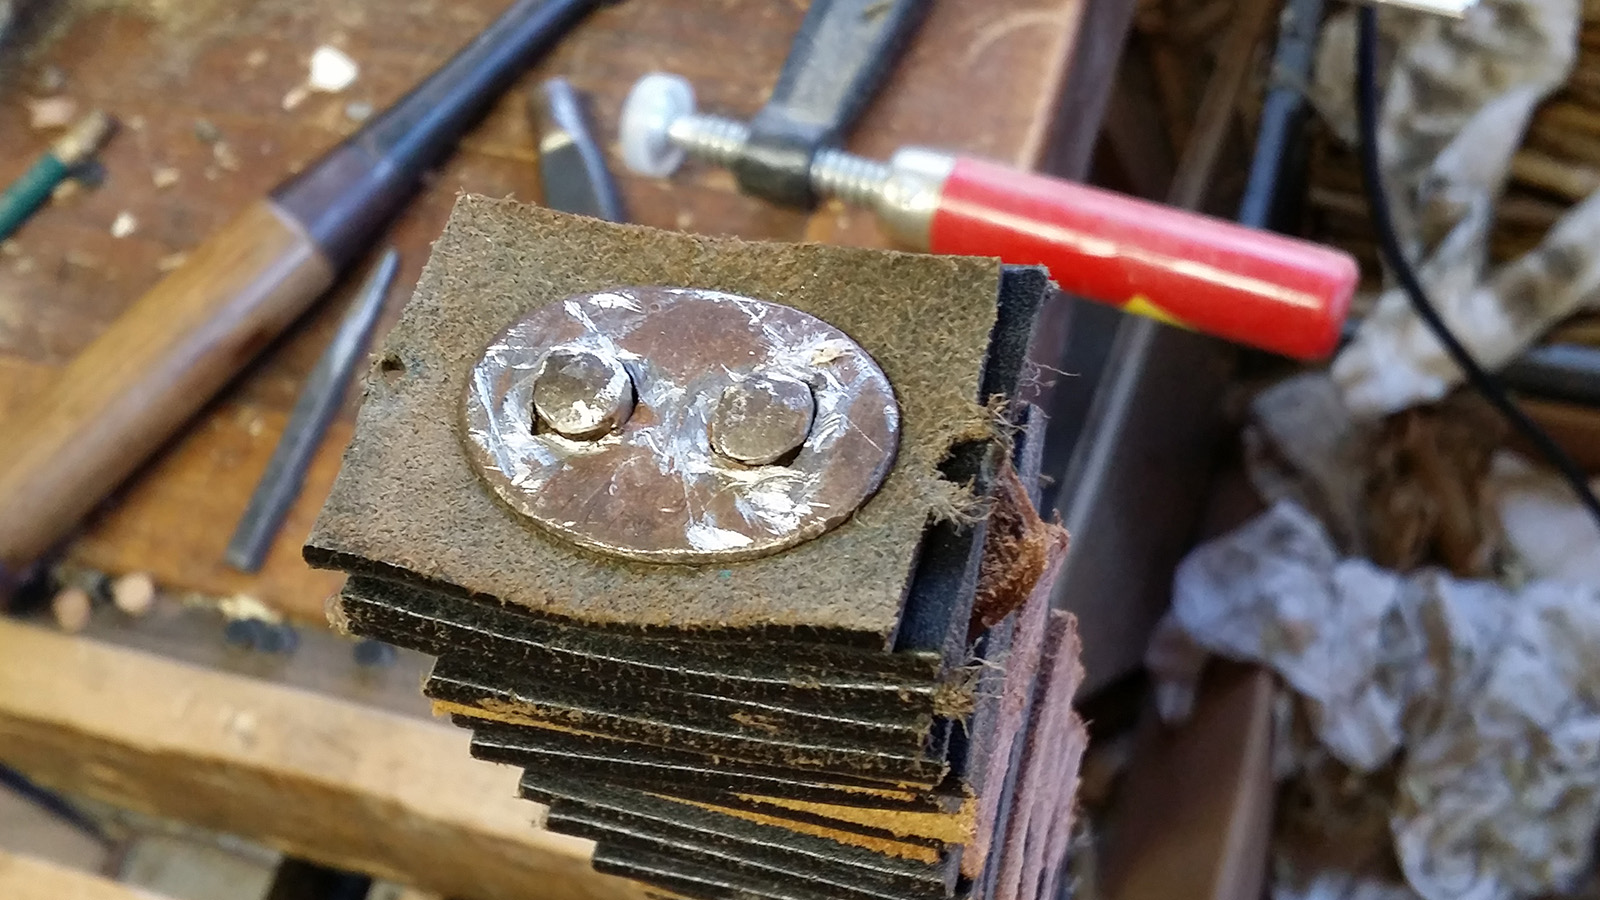
That made compressing the stack a piece of cake. As the hammering made the stack smaller, I'd stop and add another piece of leather until I couldn't get any more to fit, then added the end plate. After I'd hammered the plate to about 1/8" below the ends of the pins, the stack was incredibly tight. It was only temporary though... the friction between the leather and shaft would only hold for a few minutes, but that was enough time to peen the pins in place.
Once the end plate was secure, I breathed a sigh of relief ... the hardest part was done.
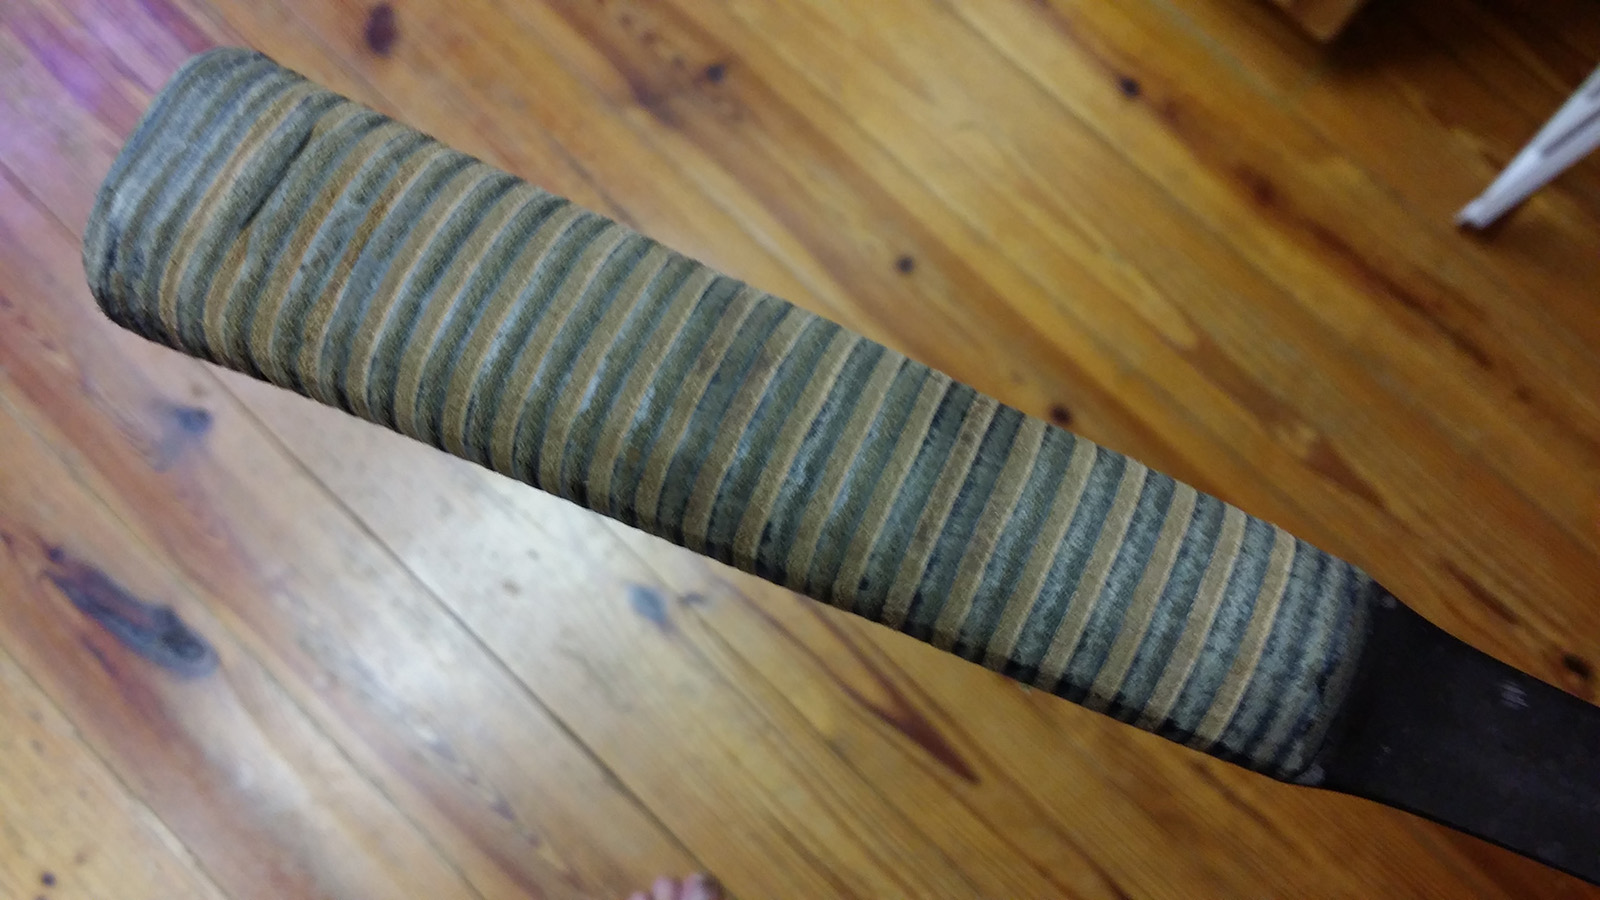
Now for the shaping and finishing. I thought about trimming some of the excess with a knife but I decided to go straight to the stationary belt sander.
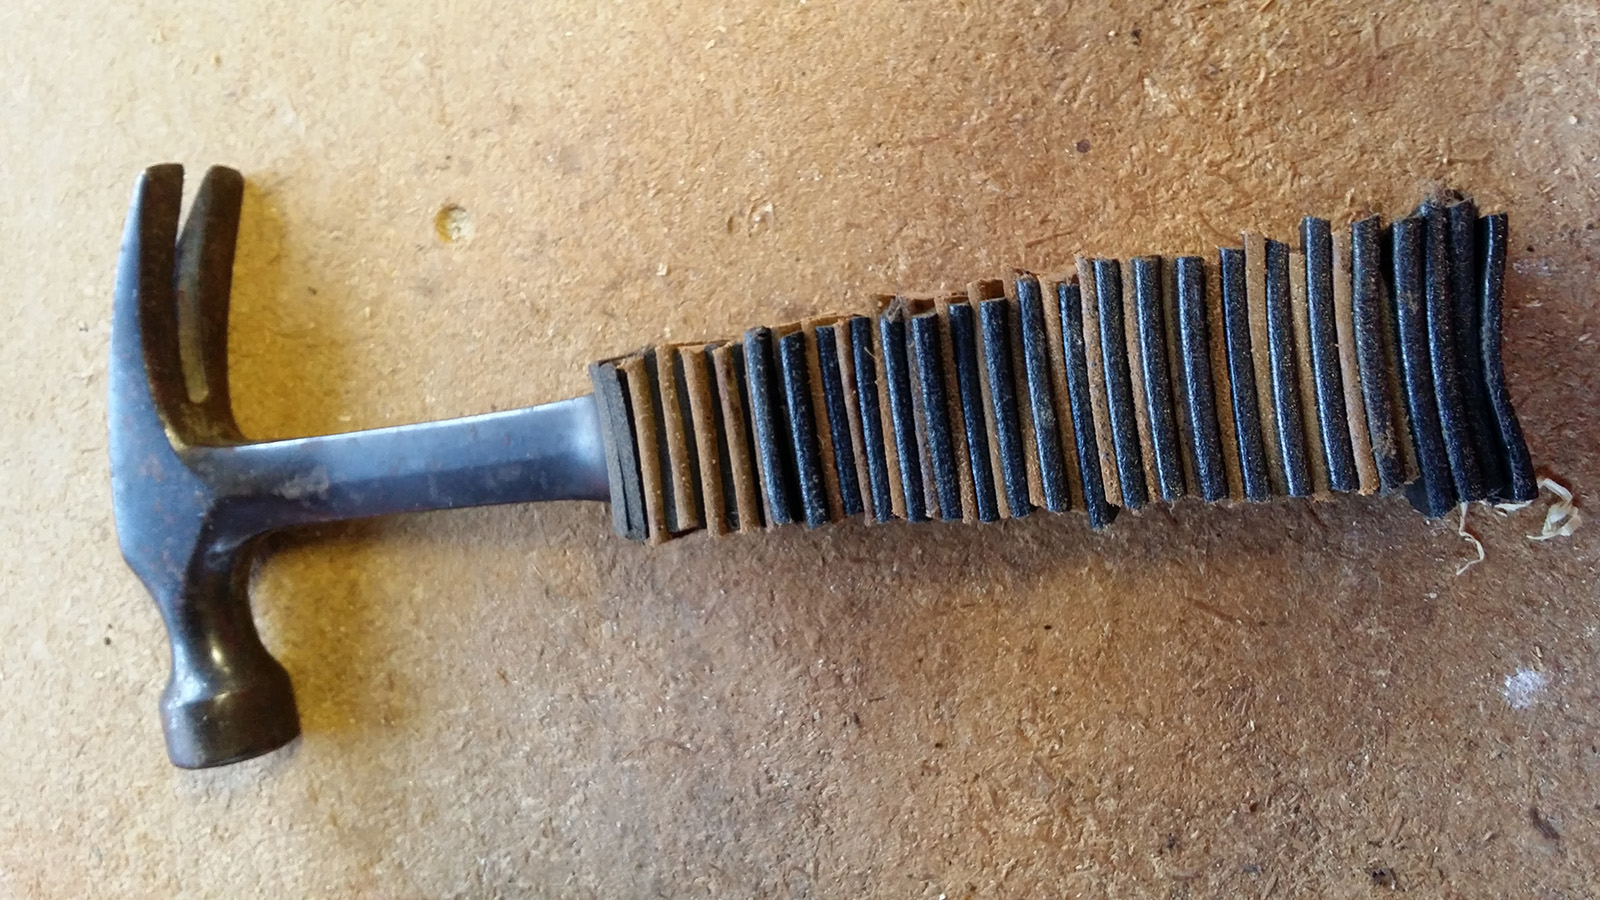
Here's the result after about ten or fifteen minutes of sanding. I cannot stress how important it is to have good dust collection AND to wear a dust mask. Wood dust is bad enough, but the dyes and tanning chemicals in commercial leather are probably pretty toxic, no point in taking chances.

Another five or ten minutes to bevel the corners.
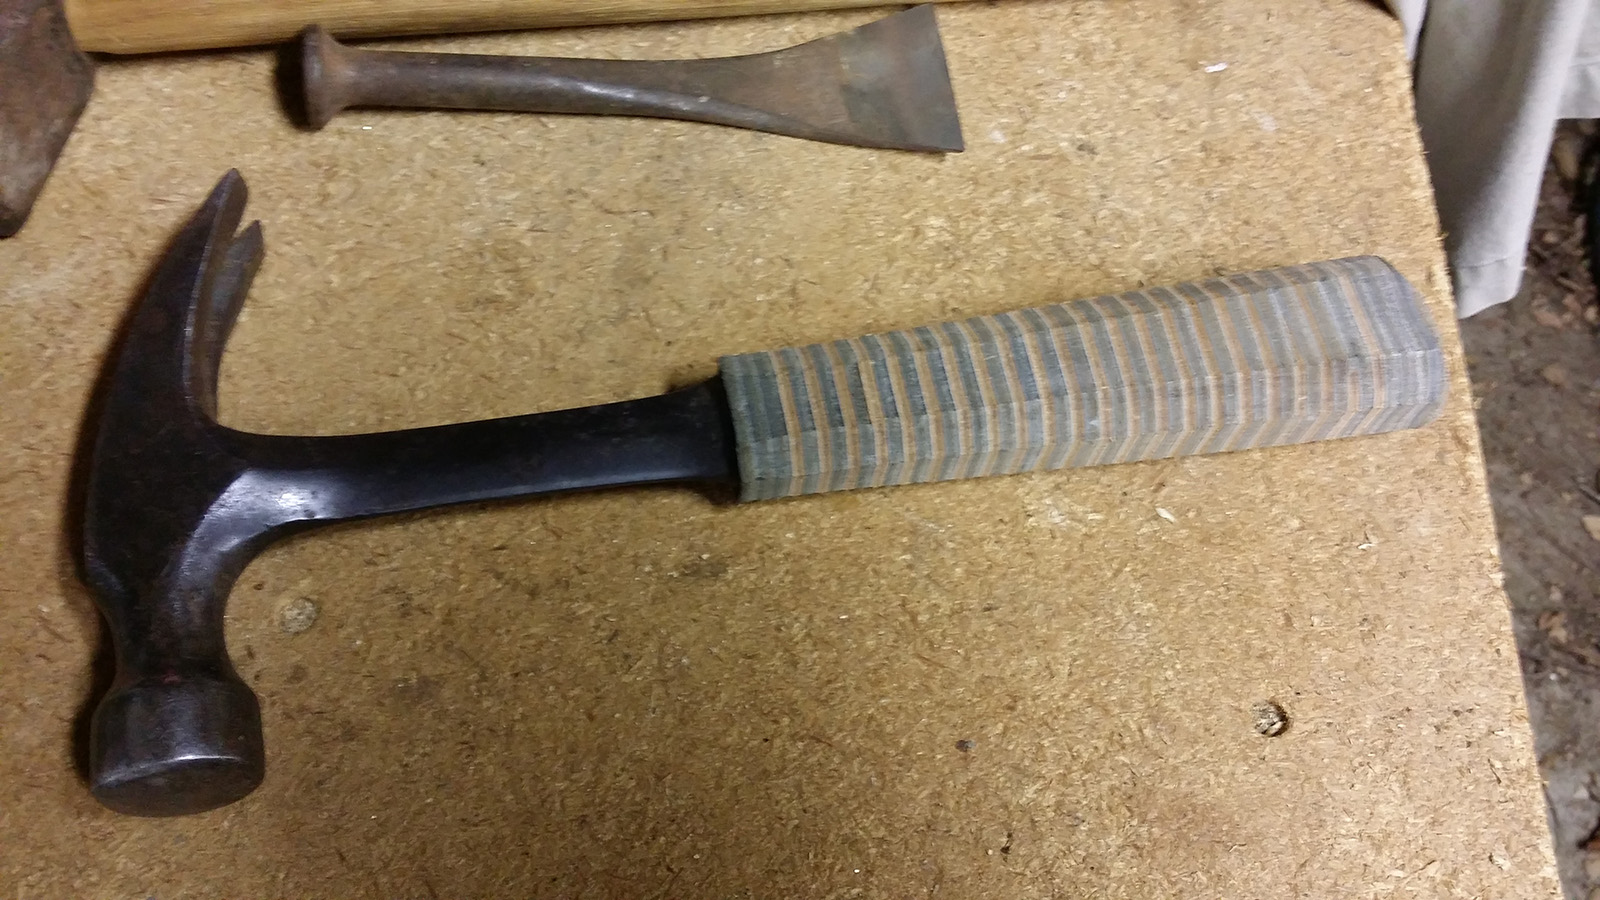
After that, I rounded the corners, and added a slight concave contour to the sides. Then I changed to a finer belt to blend the top where it meets the shaft and rounded the base. A little hand-sanding finished it up.
Estwing dips their leather handles in lacquer, or at least that's what it said in the video. I really never cared for that slick finish, especially when your hands get sweaty... in fact, when I was doing construction work in the late 70's I finally got fed up and spent the end of one of my lunch breaks scraping and sanding until the handle was bare leather. It felt a lot better, but I'm sure exposing the leather like that hastened the handle's decay.
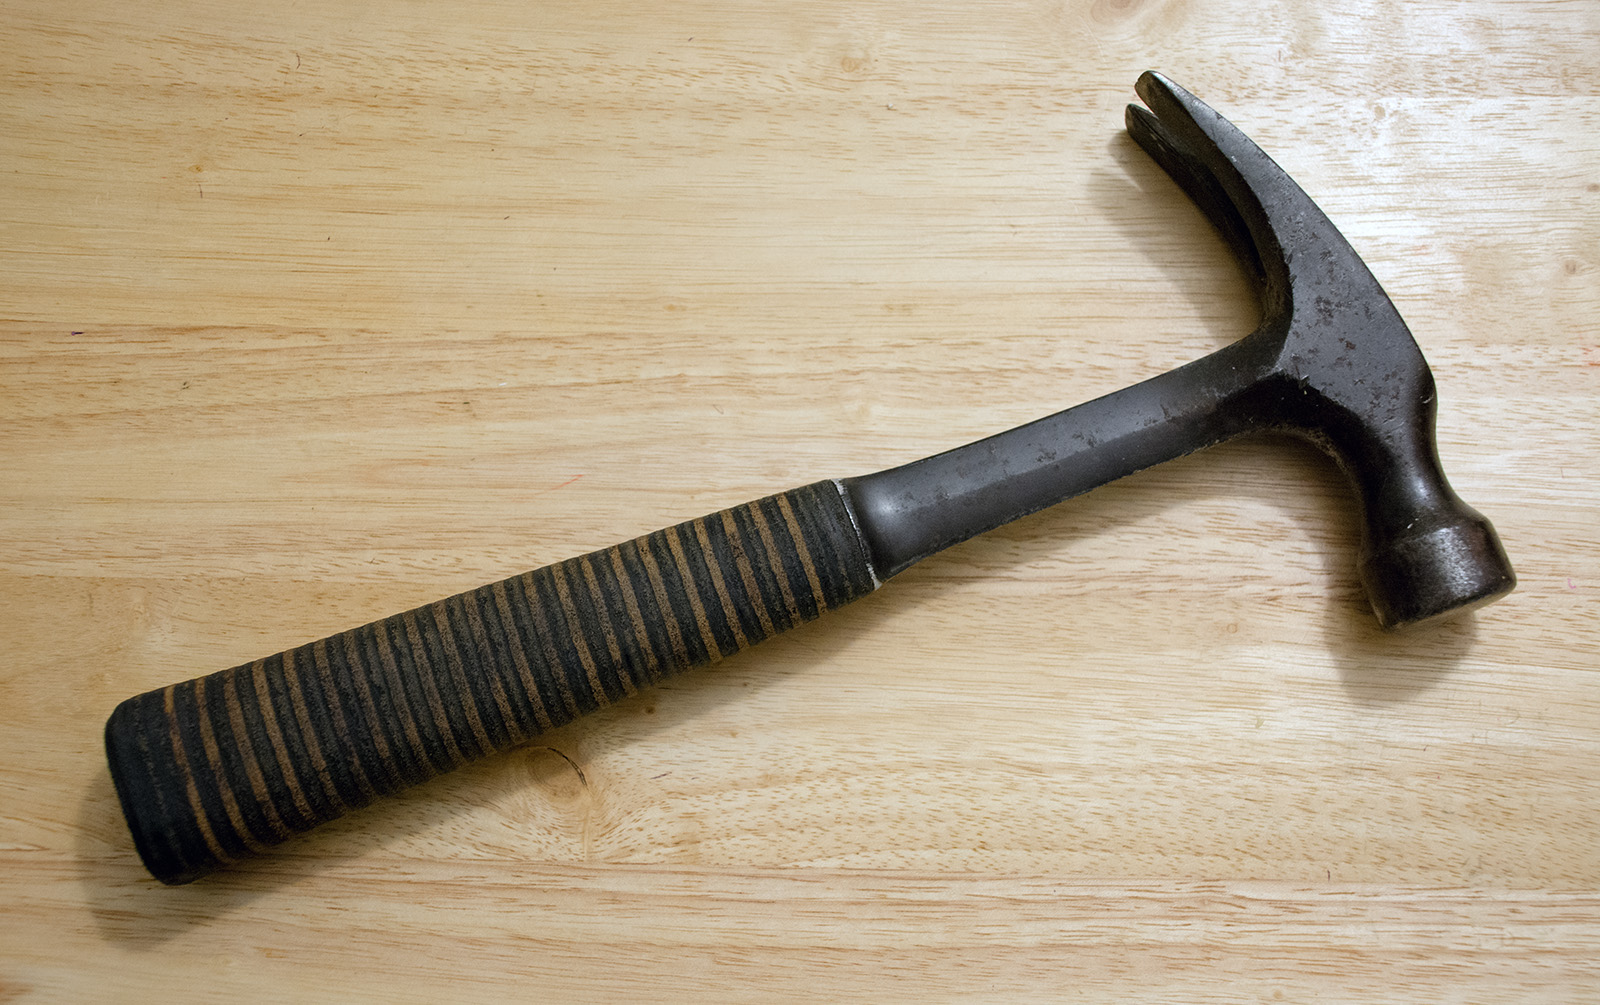
I was definitely tempted to leave the handle just as it was but I felt like it needed some protection. I considered Neetsfoot Oil and other leather treatments but I didn't want to make the leather softer or leave it with an oily feel. I finally decided to try Spar Varnish, which is a mixture of oil, resin and solvent... I gave the handle a dip and let it drain.
At first it looked like it was going to stay on the surface and dry to a shiny finish, but after about an hour it was all absorbed by the leather, leaving the surface rough enough for a good grip. After drying, the surface still has a nice feel, but water beads up on the handle and doesn't darken the leather so it's probably waterproof enough to be fairly durable. We'll see, I guess.
Photos: Samsung Galaxy Note 3, Nikon D7100 (last image).